
Consider hand applied surfaces
For a troweled pattern, the tool movement and the spacing between its marks matter. A sample is particularly helpful when the original finish was created without a regular sprayed pattern. When damage followed other building work, describe the nearby alterations and the sequence between those changes and the first noticeable defect.
Prepare a sample area
A small test helps establish particle size, spacing and the amount of flattening needed. Reviewing the sample before coating the full repair reduces uncertainty about the expected blend. For a repair that crosses several surfaces, measure the affected planes separately so the estimate can explain where each finishing treatment starts and stops.
Identify the existing pattern
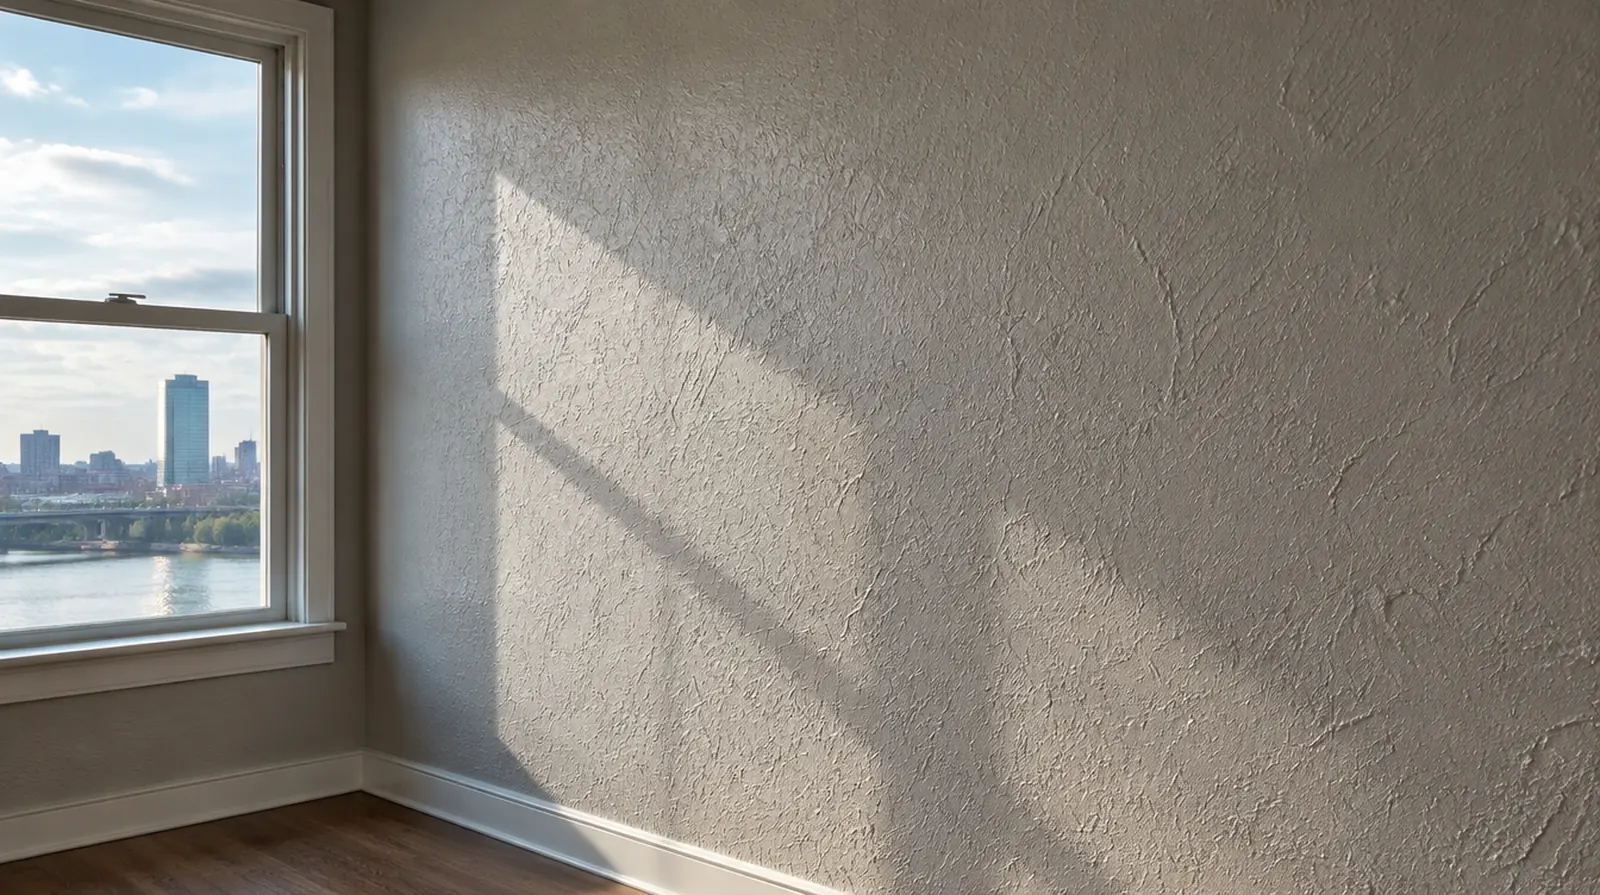
Orange peel, knockdown and hand applied textures create different depths and shadow lines. The existing wall ought to be examined in the actual room lighting before selecting a matching method. When photographs are used for an initial discussion, include a wide room view as well as a close view so scale and surrounding finishes are understandable.
Protect surrounding finishes
Texture overspray can settle on trim, flooring and nearby fittings if they are not masked. Protect the full reach of the operation, including fittings and trim beyond the original damaged spot. If access passes through a shared space, arrange protection and a delivery route that do not unnecessarily obstruct other occupants.
Allow time before painting
Applying paint before the texture has dried can disturb the pattern or produce uneven absorption. The quote should explain whether the next decorating stage is included or left to a painter. At a surface receiving strong window light, review a dried trial from the side in addition to the normal straight view of the wall surface.
Control application conditions
Compound consistency and application distance affect how a sprayed pattern lands on the wall. A knockdown pass also depends on when the applied material reaches the right condition in that room. For work spread across different planes, record their dimensions separately and describe the boundary of the treatment on each surface.
Judge from normal positions
Close inspection of a wet sample is less useful than reviewing the dry finish from ordinary room viewpoints. The planned decorative paint sheen and oblique light both belong in the final appearance discussion. When the history of a repair is uncertain, note when it became visible and whether its appearance has altered across distinct seasons.
Use appropriate primer
New texture and adjacent painted material can absorb finish coats at different rates. A suitable primer helps the paint system perform consistently without changing the texture profile unnecessarily. When concealed damage is possible, establish how additional findings and any proposed removal will be recorded before the scope changes.
Set realistic blend expectations
Age, paint buildup and irregular original application can limit how closely a patch can blend. A wider wall treatment may be worth discussing if a localized repair remains conspicuous. When a paint contractor follows the drywall work, define the surface condition being handed over and decide who handles any minor final touch ups.
Study the paint layers
Repeated painting can soften an old pattern and change how its peaks reflect light. Matching the wall as it looks now may require a distinct application from the pattern that was first installed. At the handover inspection, review the finish from ordinary room positions using the lighting conditions that were agreed for the work.
Project context in Toledo
Do not climb onto improvised supports to inspect a high surface; access equipment belongs in the work plan. Decide where furniture can go before the repair date.
Scope questions before finishing
At a surface receiving strong window light, review a dried trial from the side in addition to the normal straight view of the wall.
Where existing floors will remain, specify protective measures and review the path used by panels, equipment and finishing tools.
When the history of a repair is uncertain, note when it became visible and whether its appearance has altered across distinct seasons.
If a household member is sensitive to dust, discuss containment and cleaning expectations before choosing how to stage the room work.
For a planned new wall mounted fixture, resolve its backing requirements while the cavity remains open instead of cutting into completed drywall later.
For a limited patch requiring substantial setup, assess the complete package of access and protection rather than relating cost only to the opening size.
If the ceiling or wall includes fittings, identify the person responsible for removing and reinstalling each item before the work begins.
For a surface carrying numerous paint layers, discuss whether differences in the retained profile or sheen justify decorating a broader area.
In a room with little free floor space, identify temporary storage for belongings and establish adequate clearance for the work before delivery.
If the finish paint is already chosen, share its sheen and color early because those choices influence how preparation of the surface is judged.
For a surface that will receive wall covering, share the product requirements early so the finishing stage supports the planned decorative treatment.
While a removed panel exposes the wall cavity, complete the necessary review of concealed work before replacement board closes the opening.
Explore the Toledo drywall overview for related options, or read the project planning information before arranging the next stage.
More planning details for Toledo
Toledo repair planning benefits from a clear distinction between a ceiling mark and the condition of the board above it. Explain whether there was a known leak, whether the area feels soft and whether earlier repairs have returned. With cold winter weather outside, the temperature maintained in the actual room can affect the finishing sequence.