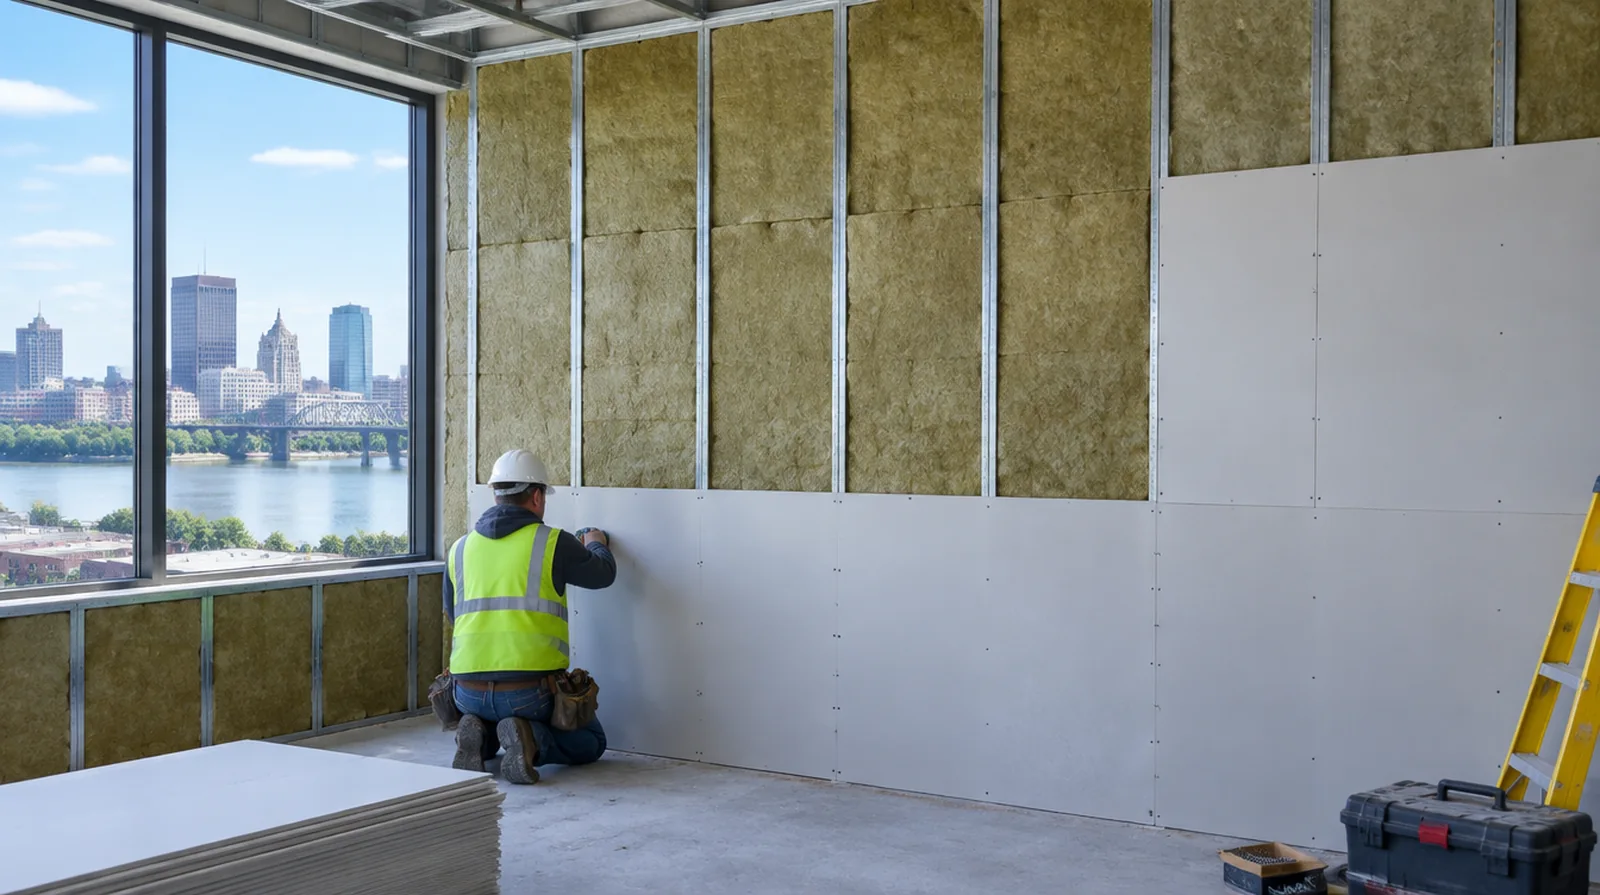
Identify the noise path
Voices passing through a shared wall are distinct from footsteps transmitted through a floor structure. A useful assessment starts with the type of sound and the path it follows. When building management controls access, agree delivery hours and common area protection before committing to a start or finish date.
Avoid rigid bridges
An unintended rigid connection can reduce the value of a resiliently supported surface. Check fastener and attachment details against the system guidance rather than judging only the noticeable wall. When more damage could be hidden, ask how any added scope will be documented before extra material is removed or replaced.
Finish the visible surface
The room side of an acoustic installation still needs appropriate taping, finishing and coating preparation. The specified sound control details should remain intact while the visible face is made ready for decoration. For a surface carrying numerous paint layers, discuss whether differences in the retained profile or sheen justify decorating a broader area.
Address air leakage
Air gaps at wall edges and penetrations can weaken the benefit of other acoustic measures. Include compatible sealing wherever it is required by the chosen sound control assembly. When more damage could be hidden, ask how any added scope will be documented before extra material is removed or replaced.
Coordinate electrical boxes
Opposing outlets and unsealed openings can create weak points in a separating wall. Electrical changes should be planned with the appropriate trade and within the required assembly details. If materials must cross common building areas, plan the protection and access route so other occupants are not needlessly obstructed by deliveries.
Respect fire requirements
Acoustic changes should preserve any fire resistance required of the existing separating assembly. Verify suitable board, sealing and connection details before changing the original assembly. In a room with little free floor space, identify temporary storage for belongings and establish enough clearance for the work before delivery.
Consider cavity access
An open partition offers different options from a finished wall that must remain largely intact. The estimate should explain what needs removal and how the space will be restored afterward. For a surface that will receive wall covering, share the product requirements early so the finishing stage supports the planned decorative treatment.
Set realistic goals
A heavier wall may not solve a complaint if sound still passes through openings and nearby junctions. Discuss the expected improvement without treating a single material as a complete solution. For work spread across differing planes, record their dimensions separately and describe the boundary of the treatment on each surface.

Explain verification limits
A construction proposal is not the same as a field measured acoustic performance report. A specific performance requirement may justify design advice and suitable field verification by an acoustic specialist. Where a future fixture will be installed, coordinate any required backing while the cavity is accessible rather than reopening the completed wall.
Review the whole assembly
Board layers, framing, insulation and edge details all contribute to acoustic behavior. Select a suitable tested or documented wall system rather than combining unrelated marketing specifications. Where occupants have dust sensitivity concerns, agree containment and cleaning measures before settling the way the space will be staged.
Project context in Toledo
Explain whether there was a known leak, whether the area feels soft and whether earlier repairs have returned. A ceiling over an occupied family space may need staged protection and a specific daily cleanup boundary.
Scope questions before finishing
If a household member is sensitive to dust, discuss containment and cleaning expectations before choosing how to stage the room work.
If the problem developed after another renovation, explain which nearby materials or building systems changed before the damage became visible.
When building management controls access, agree delivery hours and common area protection before committing to a start or finish date.
When the same defect has returned, share information about previous repair methods so the next assessment can consider why they did not last.
For a planned new wall mounted fixture, resolve its backing requirements while the cavity remains open instead of cutting into completed drywall later.
When a paint contractor follows the drywall work, define the surface condition being handed over and decide who handles any minor final touch ups.
Where a finished perimeter is prominent, decide whether trim stays in position or is removed before agreeing how the new surface meets that edge.
While a removed panel exposes the wall cavity, complete the necessary review of concealed work before replacement board closes the opening.
If the completion date matters most, allow for intervals between coats as well as active labor instead of assuming the entire process happens continuously.
If access passes through a shared space, arrange protection and a delivery route that do not unnecessarily obstruct other occupants.
Where a surface has been painted many times, consider whether differences in texture or sheen will require a wider decorative treatment.
For an older repair with no clear history, describe when the mark first appeared and whether it has changed through more than one season.
Explore the Toledo drywall overview for related options, or read the project planning information before arranging the next stage.
More planning details for Toledo
Toledo repair planning benefits from a clear distinction between a ceiling mark and the condition of the board above it. Do not climb onto improvised supports to inspect a high surface; access equipment belongs in the work plan. With cold winter weather outside, the temperature maintained in the actual room can affect the finishing sequence.