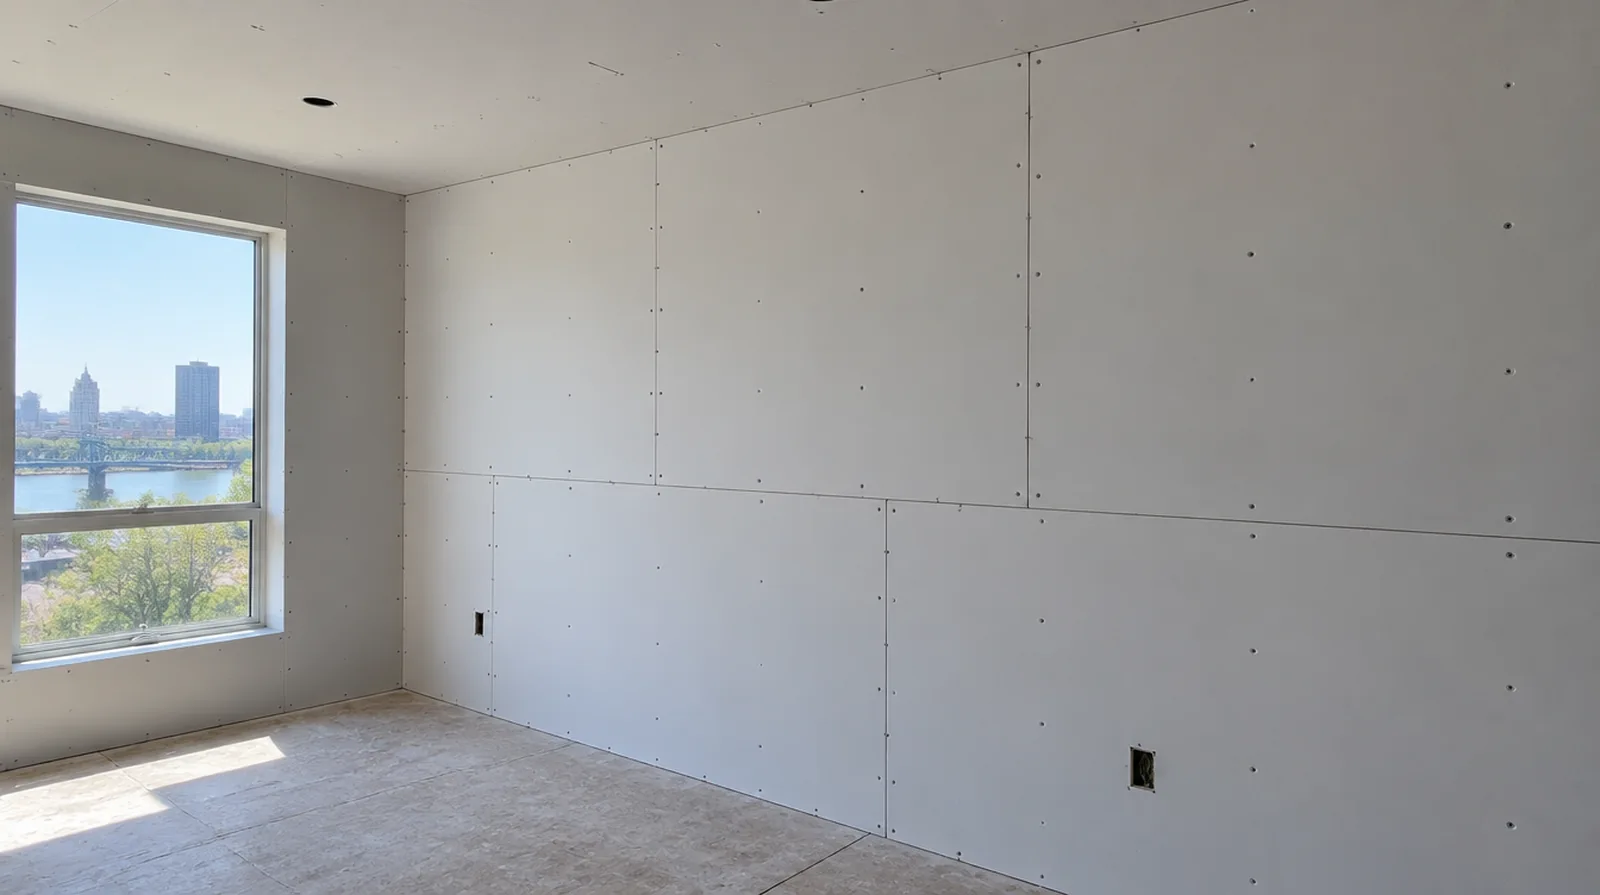
Sequence the finishing work
Allow the joint treatment to proceed in suitable conditions with adequate intervals between applications. Discuss how ventilation and access will be maintained while other renovation work continues. Where the wall surface meets fixed furniture, clarify whether removal is included or whether the finish will terminate at the accessible edge.
Confirm concealed work
Required checks on concealed services and insulation ought to be completed while the wall remains open. A readiness record and useful photographs can reduce avoidable demolition through the new installation. If a household member is sensitive to dust, discuss containment and cleaning expectations before choosing how to stage the room work.
Treat perimeter details
Connections to adjoining surfaces are part of the wall detail, not merely decorative gaps. The relevant fire or acoustic assembly may specify particular perimeter seals and treatments. If the project is part of a larger remodel, settle the sequence with flooring, trim and cabinet work before setting a final finishing date.
Control fastening depth
Proper fastening holds the gypsum securely while leaving its face paper intact. Repair overdriven fixings or inadequate edge support rather than expecting finishing coats to conceal those defects. If the decorative coating is already chosen, share its sheen and color early because those choices influence how substrate preparation is judged.
Define the finish level
Hanging board and delivering a paint ready wall are distinct stages that should be described separately. Strong side lighting or a glossy coating can justify more extensive finishing than a utility room. Where several contractors share the renovation, identify the inspection and handover milestones that determine when each following stage can proceed.
Inspect before decoration
Review dry finished walls while their edges remain noticeable and before fixed furnishings obstruct access. Use the agreed lighting and note any further preparation the painter should expect. Where the quoted work stops before painting, request an explicit description of what remains so the next decorating stage can be priced realistically.
Fit corners and openings
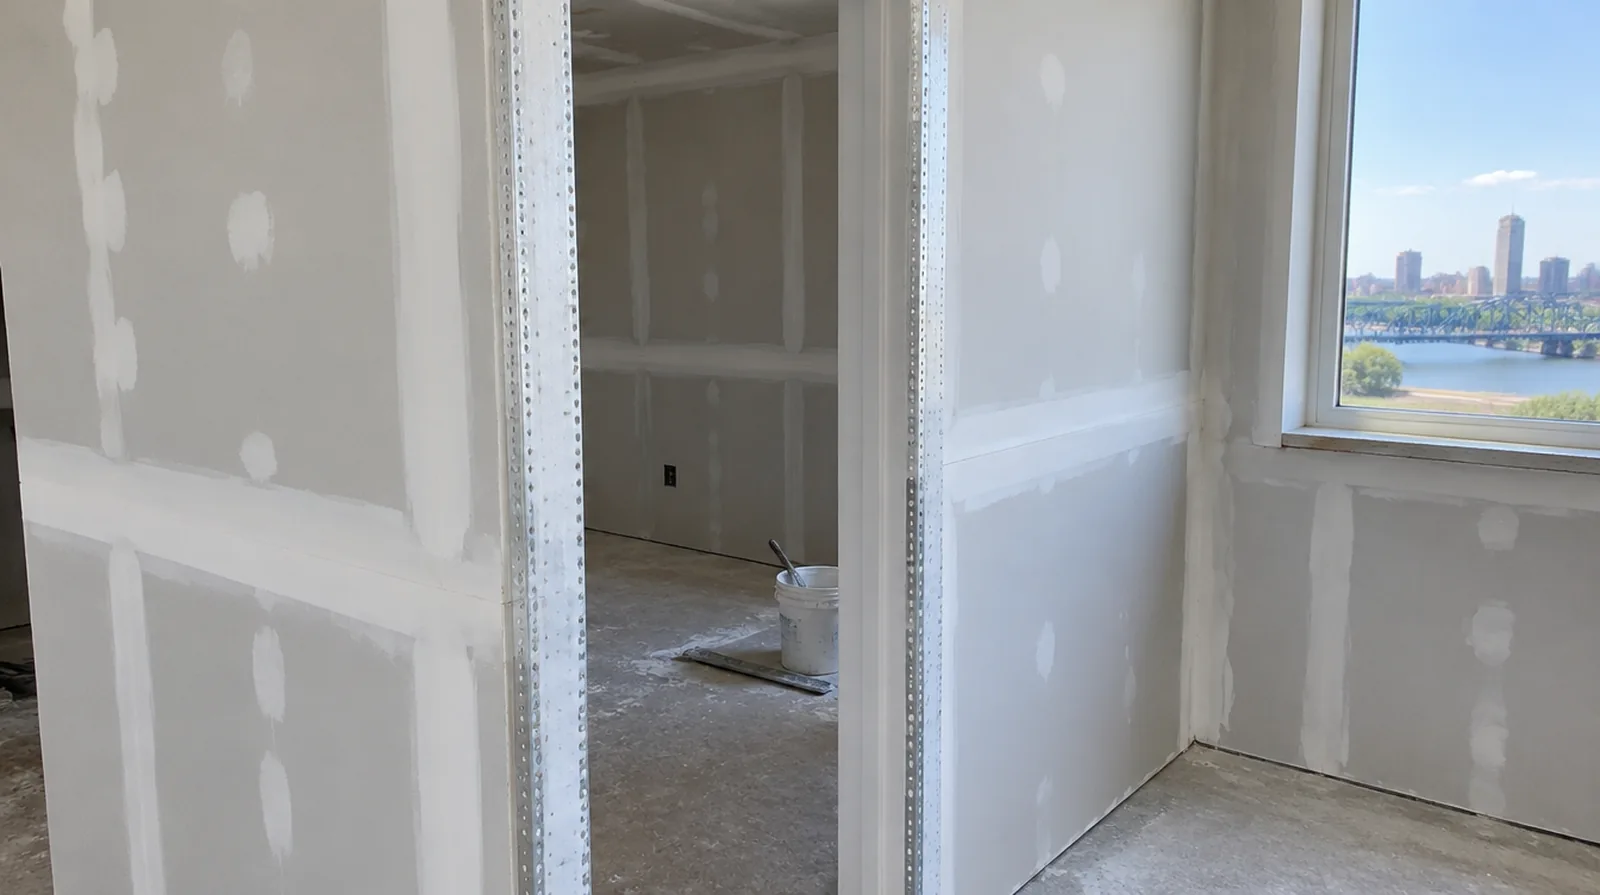
The finished corner line depends on precise fitting before compound is applied. The corner profile should be selected to match the intended appearance and the expected wear. Where a surface has been painted many times, consider whether differences in texture or sheen will require a wider decorative treatment.
Lay out the joints
Arrange supported sheet edges and joint positions with the openings and final finish in mind. The installer should consider both panel support and the finishing work that follows. At a repair beside an opening, allow clearance for moving board through the doorway and space to use the finishing tools effectively.
Select appropriate panels
Choose sheet thickness and panel properties to suit the specified assembly and the intended location. Moisture resistant board is not a substitute for a required waterproofing system in a wet area. When the project space includes a doorway, check the clearance for panel movement as well as the amount of space available for finishing tools.
Inspect supporting framing
Drywall follows the framing underneath it, so bowed studs or uneven backing can show through the finished face. Deal with significant framing irregularities while the structure is exposed, before the boards conceal it. If the project is part of a larger remodel, settle the sequence with flooring, trim and cabinet work before setting a final finishing date.
Project context in Toledo
The final inspection should include the ceiling line from the doorway and window side, followed by a clear agreement on any repainting beyond the patched section. Decide where furniture can go before the repair date.
Scope questions before finishing
When the wall has strong reflected light, look at the full plane instead of judging only the narrow strip immediately beside the patch.
For a planned new wall mounted fixture, resolve its backing requirements while the cavity remains open instead of cutting into completed drywall later.
If the project is part of a larger remodel, settle the sequence with flooring, trim and cabinet work before setting a final finishing date.
When painting is outside the proposal, describe the remaining decorative preparation clearly so another contractor can price that stage accurately.
For a project involving a building manager, confirm access hours and protection requirements before promising a start date or a short completion window.
For a limited patch requiring substantial setup, assess the complete package of access and protection rather than relating cost only to the opening size.
When building management controls access, agree delivery hours and common area protection before committing to a start or finish date.
For a project with several trades, agree which inspection or handover point must happen before the next person starts work.
For an older repair with no clear history, describe when the mark first appeared and whether it has changed through more than one season.
If there is a fixed move in date, reserve sufficient time for the coating stages after drywall work rather than counting only the installation period.
For walls beside bright windows, review a dry sample from an oblique angle as well as looking straight at the repaired surface.
For a room that stays in use, set a workable boundary around construction while retaining the access people need for normal daily activities.
Explore the Toledo drywall overview for related options, or read the project planning information before arranging the next stage.
More planning details for Toledo
Toledo repair planning benefits from a clear distinction between a ceiling mark and the condition of the board above it. Explain whether there was a known leak, whether the area feels soft and whether earlier repairs have returned. Do not climb onto improvised supports to inspect a high surface; access equipment belongs in the work plan.